**This tutorial was written by me and any resemblance is purely coincidental. It is written for those with a working knowledge of Photoshop.**
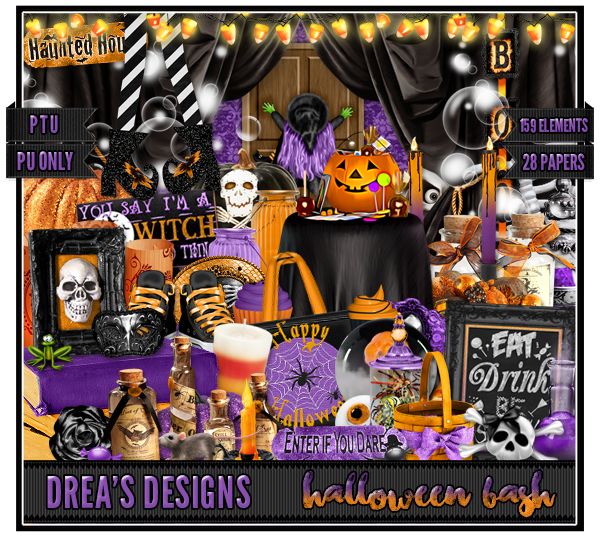
Scrap Kit
Template
Elements
bat
black rose
candle1
candles
crow
crystal
deco2
doll head
ghost woman
hour glass
key
lightening
medical dish
moon
necklace
old bottle
rose
skull pie
spell box
spider
tombstone
tree
WA
Papers
3
6
9
Let's start!
Open a new canvas, size 650x650.
Open the canvas, select only layers 2, 5, and 6 and move them onto your blank canvas together.
Place paper 3 over layer 2 and clip to the layer. Resize and move it around as you like. Merge down to combine the paper and template layer together.
Now place paper 6 over layer 5 and clip to the layer. Repeat the same steps for the last layer.
Take paper 9 and place it over layer 6 and clip. Repeat the same steps as before.
Add a gray border to each layer, color gray, and add noise.
Place the moon behind the template in the empty space on the left. Resize and add drop shadow.
On top of the moon and layer 5 place the bat. Resize and add drop shadow.
Place the tree between layers 5 and 6. Resize and add drop shadow.
Place the tombstone on the right side of the template in front of everything. Resize and add drop shadow.
Place the spell box to the left of the tombstone. Resize and add drop shadow.
Behind the box and tombstone place the candles. Resize and add drop shadow.
Behind the tombstone on the right place the hour glass. Resize and add drop shadow.
In front of the tombstone on the right of it place candle 1. Resize and add drop shadow.
Duplicate the candle and place it on the left side of the spell box.
Behind the candle and spell box place deco2. Resize and add drop shadow.
Place the doll head in front of the candle. Resize and add drop shadow.
Place a small spider on the doll head. Resize and add drop shadow.
Place the black rose to the right of the doll head then the rose next to it. Resize and add drop shadow.
Place the old bottle to the right of the rose. Resize and add drop shadow.
"Hang" the necklace over the old bottle. Resize and add drop shadow.
In front of the rose and the old bottle place the medicine dish. Resize and add drop shadow.
Next to the old bottle place the skull pie. Resize and add drop shadow.
Behind the skull pie place a copy of the rose.
To the right of the pie place the crystal. Resize and add drop shadow.
In front of the crystal place the key so it lays in front of the candle too. Resize and add drop shadow.
Behind the crystal and candle place a copy of the black rose.
On top of everything place the lightening so it's coming from the upper right hand corner and resize.
On top of everything place the ghost woman. She will act as the tube. Resize and add drop shadow.
Use the WA and place that over the tube on the lower right hand side. Now add to the word art with a font of choice so it reads "Fear The Night".
Use a dark paper/color for the mask of choice.
Add your tagger mark and copyright information.
Crop off any extra canvas.
Save as a .psd & .png.
Free Snags!
Thanks for coming by!
♥♥♥